There are numerous reasons why a DIY washable stair runner is a smart choice for your home:
Cost-Effective and Budget-Friendly
Installing a stair runner yourself can save you money compared to hiring a professional. By opting for a DIY approach, you eliminate labor costs, which can be significant. Additionally, you have the flexibility to source materials that fit within your budget without compromising on quality. This makes it a financially savvy project that enhances your home’s value without breaking the bank.
Unmatched Customization Options
With a DIY project, you can choose the exact style, color, and material that fits your decor. You’re not limited to the options presented by a contractor; instead, you have creative freedom. This allows you to tailor your stair runner to complement the unique aesthetic of your home. Whether you prefer a minimalist design or a bold, artistic pattern, the choice is entirely yours.
Easy Maintenance for High-Traffic Areas
Washable stair runners are easy to clean, making them ideal for high-traffic areas. In busy households, dirt and spills are inevitable, but a washable runner ensures that maintenance is straightforward. This feature is particularly beneficial for families with children or pets, as it keeps your home looking pristine with minimal effort. The ability to easily wash and refresh your stair runner is a significant advantage for any homeowner.
Enhanced Safety and Security
A stair runner can provide extra traction, reducing the risk of slips and falls. This is especially important in homes with young children or elderly residents. By installing a stair runner, you create a safer environment that minimizes the likelihood of accidents. Additionally, the soft surface of the runner can reduce noise, providing a quieter and more peaceful home atmosphere.
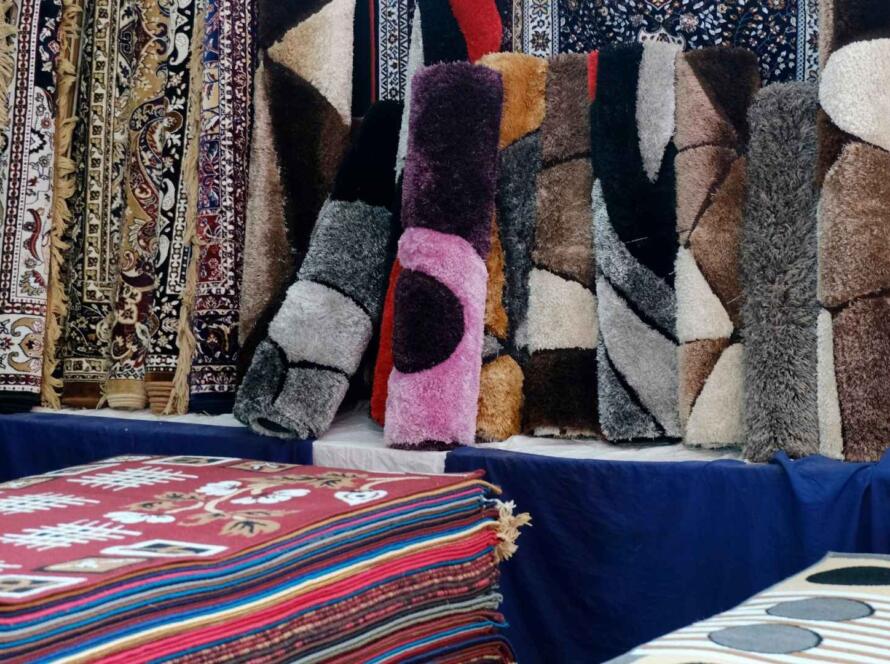
Choosing the Right Runner for Your Stairs
Before diving into the installation, you need to choose the right runner for your stairs. Here are a few tips:
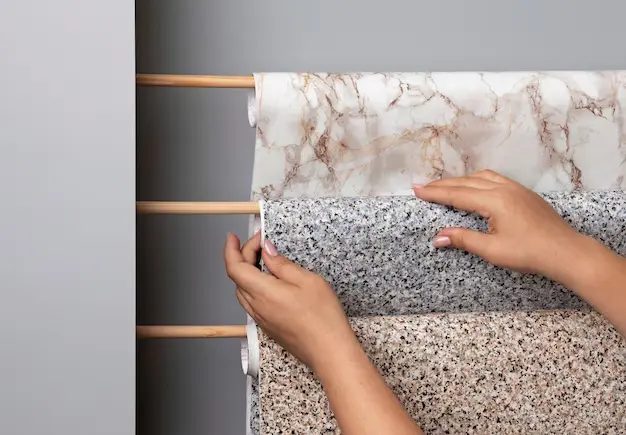
Understanding Material Properties
When selecting a runner, consider the material. A durable, stain-resistant fabric is ideal for areas prone to spills or dirt. DreamDen offers a variety of materials that are both stylish and practical for a staircase setting. Evaluate the texture, thickness, and durability of each material option. Consider how it will feel underfoot and how it will withstand daily wear and tear.
Exploring Color and Pattern Variations
The color and pattern of your stair runner can significantly impact the look of your staircase. Choose a pattern that complements your existing decor while adding a touch of personality. For a bold statement, opt for vibrant colors or intricate designs. If you prefer a more subtle look, neutral tones or simple patterns are ideal. Consider the lighting in your stairwell, as it can affect how colors appear. Experiment with samples to see how different patterns work in your space.
Precision in Measuring Your Stairs
Accurate measurements are crucial for a successful DIY stair runner project. Measure the width of your stairs and decide how much of the wood you want to show on each side. Also, determine the length by measuring from the top of the first step to the bottom of the last step, including the risers. Take into account any landings or turns your staircase might have. Recheck your measurements to ensure accuracy, as this will prevent costly mistakes and ensure a perfect fit.
Consider Environmental and Usage Factors
Think about how your stair runner will be used and the environment it will be placed in. If your stairs are in an area with high exposure to sunlight, choose a UV-resistant material to prevent fading. In homes with pets, opt for a runner that resists pet hair and is easy to clean. Consider the overall traffic on the stairs, which will influence the durability requirement of your chosen material.
Tools and Materials You’ll Need
Gather the necessary tools and materials before starting your project. Here’s a checklist:
- DreamDen washable stair runner
- Measuring tape
- Carpet tape or staples
- Staple gun
- Utility knife
- Carpet tucker or putty knife
- Hammer and nails (optional)
- Scissors
Additional Tools for Enhanced Installation
While the basic tools listed above are essential, consider having additional tools on hand for a smoother installation process. A level can help ensure your runner is aligned properly, and a chalk line can assist in marking straight lines for cutting or positioning. A seam roller can be useful if you’re joining two runners, ensuring a seamless connection. Having these extra tools can make your project more precise and professional.
Preparing Your Workspace
Before you begin, prepare your workspace to ensure safety and efficiency. Clear the area around the stairs to prevent accidents and provide ample room to work. Gather all your tools and materials in one place so you can easily access them as needed. Consider laying down a tarp or old sheets to protect nearby flooring from dust or debris. A well-organized workspace contributes to a smoother installation process.
Selecting High-Quality Materials
Choosing high-quality materials is critical to the success of your stair runner project. Opt for a DreamDen washable stair runner that meets your aesthetic and functional needs. Ensure that your carpet tape or staples are strong and durable to secure the runner effectively. Investing in quality materials will increase the longevity and performance of your stair runner, making it a worthwhile investment.
Step-by-Step Installation Guide
Step 1: Prepare the Stairs Thoroughly
Before installing your runner, ensure your stairs are clean and dry. Remove any old carpet, nails, or staples. If needed, sand down any rough spots and vacuum thoroughly to remove dust and debris. This preparation step is crucial as it provides a smooth surface for your runner and prevents any underlying imperfections from affecting the final result. Inspect each step for damage and repair any issues before proceeding.
Step 2: Cut the Runner Accurately
Using your measurements, cut the runner to the desired length. If your runner isn’t long enough to cover the entire staircase, you can join two runners by overlapping them slightly at a step or using a seam adhesive. Ensure that your cuts are straight and even, as this will affect the appearance and fit of the runner. Take your time with this step, as precision is key to achieving a professional finish.
Step 3: Secure the Runner at the Top with Care
Align the runner with the top step, ensuring it’s centered. Use carpet tape or a staple gun to secure the runner at the top of the first riser. Ensure it’s firmly attached to prevent slipping. Double-check that the runner is perfectly aligned before securing it, as any misalignment will be noticeable. Secure the top thoroughly, as this serves as the anchor point for the rest of the runner.
Step 4: Attach the Runner Along the Stairs Methodically
Pull the runner taut and smooth it over the first step. Use the carpet tape or staple gun to attach the runner to the tread and riser. Continue this process for each step, ensuring the runner is tight and aligned. Work step by step, checking alignment frequently to ensure consistency throughout the staircase. Adjust tension as needed to avoid wrinkles or bubbles.
Step 5: Tuck and Trim for a Polished Finish
Use a carpet tucker or putty knife to tuck the runner neatly at the edges of each step. Trim any excess fabric with a utility knife or scissors for a clean finish. Take care to create neat edges, as this attention to detail enhances the runner’s appearance. If you’re unsure about trimming, cut conservatively and adjust gradually for precision.
Step 6: Secure the Bottom with Final Touches
Once you reach the bottom step, ensure the runner is secure and won’t shift. Use additional staples or nails if necessary to hold the runner in place. Inspect the entire installation to verify that the runner is securely attached and aligned properly. Make any final adjustments needed to ensure the runner remains in place over time.
Maintenance Tips for Your Washable Stair Runner
One of the advantages of a washable stair runner is its low maintenance. Here are some tips to keep it looking fresh:
Regular Vacuuming for Cleanliness
Keep your runner free from dirt and debris by vacuuming it regularly. This simple routine helps maintain the runner’s appearance and prevents dirt from becoming embedded in the fibers. Use a vacuum attachment suitable for carpets to avoid damage. Consistent vacuuming not only keeps your runner clean but also extends its lifespan by reducing wear.
Effective Spot Cleaning Techniques
Address spills and stains immediately with a mild detergent and warm water. Prompt action prevents stains from setting and becoming permanent. Test any cleaning solution on a small, inconspicuous area of the runner first to ensure it doesn’t cause discoloration. For stubborn stains, consider using a specialized carpet cleaner or consulting the runner’s care instructions.
Machine Washing Guidelines
If your runner is machine washable, follow the manufacturer’s instructions for cleaning. Use a gentle cycle with cold water to protect the fabric’s integrity. Avoid using bleach or harsh chemicals, as they can damage the material. After washing, air dry the runner to prevent shrinkage or damage from high heat. Adhering to these guidelines ensures that your stair runner remains in top condition.
Creative Stair Runner Ideas
A stair runner can be more than just functional; it can be a design statement. Here are some creative ideas:
Embracing the Layered Look
Use a smaller, patterned runner layered over a plain one for a unique look. This approach adds depth and visual interest to your staircase, creating a custom design that’s both stylish and sophisticated. Experiment with different textures and colors to achieve a look that reflects your personal style. This layered technique can also be a great way to update your decor without a complete overhaul.
Mix and Match for Playful Aesthetics
Combine different patterns or colors on alternating steps for a playful effect. This creative approach allows you to showcase your personality and design flair. Consider using complementary colors or related patterns to maintain cohesion while introducing variety. This mix-and-match strategy is perfect for adding a touch of whimsy to your home.
Bold Borders for Drabmatic Impact
Choose a runner with contrasting borders to frame each step beautifully. Borders can add a structured, tailored look to your staircase, highlighting its architectural features. Opt for bold colors or intricate patterns that complement the main runner design. This technique is ideal for creating a striking visual impact that elevates your home’s interior design.
Conclusion
Installing a DIY washable stair runner is a rewarding project that enhances the aesthetic and functionality of your home. With DreamDen’s wide selection of runners, you can find the perfect match for your decor, ensuring style and practicality go hand in hand. Follow the steps outlined above, and enjoy the comfort and convenience of your new stair runner.
By taking this DIY approach, you’re not only adding a personal touch to your home but also ensuring that your staircase is safe and easy to maintain. Happy decorating!